How to Make Perfect Whipped Cream: 10 Easy Steps
FastGas Blog
Whipped cream—a humble yet transformative ingredient with the power to elevate any dessert from the ordinary to the extraordinary. If you’ve ever dreamed of garnishing your sweet treats with that flawless dollop of whipped cream, mastering the skill of whipping cream at home is absolutely essential.
In this blog post, we will navigate you through a simple 10-step guide to craft the perfect whipped cream. Plus, we’ll spotlight the game-changing role of Fast Gas chargers, a tool designed to help you achieve irresistibly fluffy and consistently perfect results. So, ready to whip up some magic in your kitchen? Let’s dive right in!
Essentials for Your Whipped Cream
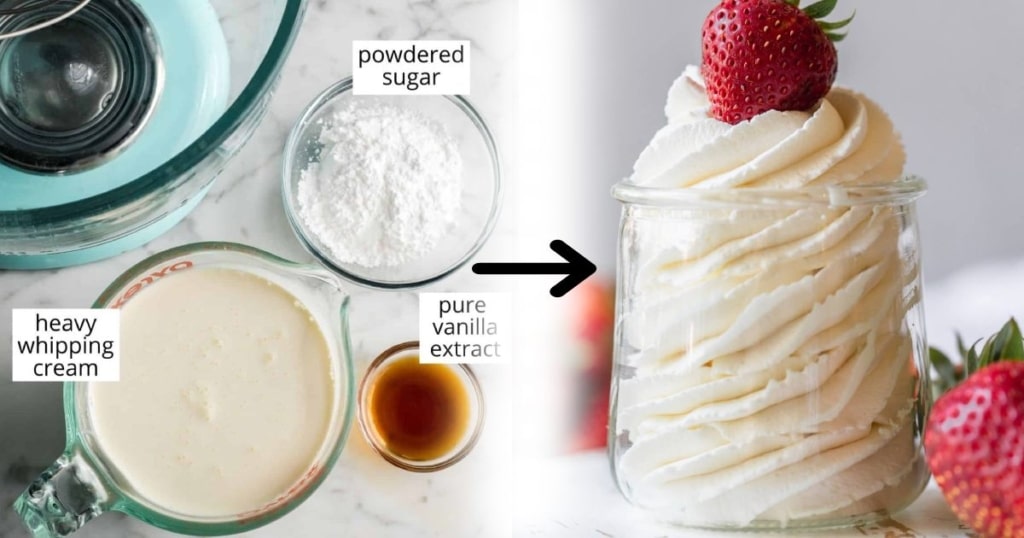
Whipping up the perfect creamy delight begins with choosing the right ingredients and their correct amounts. Here’s a detailed overview:
- Heavy Whipping Cream: Your first ingredient is 1 cup of heavy whipping cream. This variety of cream boasts the highest percentage of milk fat, which is key to giving your whipped cream a robust structure and a luxurious creamy texture.
- Sweetener: Opt for your favourite sweetener to add a touch of sweetness to your whipped cream. You can select from confectioner’s sugar, honey, or maple syrup. Each of these sweeteners lends a unique flavour to your cream. For a traditional, neutral-flavoured whipped cream, 2 tablespoons of confectioner’s sugar works best. However, if you’d like a natural and subtly rich sweetness, opt for 2 tablespoons of honey or maple syrup.
- Flavourings: Next, stir in 1 teaspoon of pure vanilla extract to give your whipped cream a classic, aromatic vanilla touch. But remember, the world of flavours doesn’t stop at vanilla. Feel free to get creative with other extracts, spices, or even liquors.
By getting these ingredients spot on, you’re already halfway towards creating an exceptional homemade whipped cream.
A Ten-Step Guide to Flawlessly Whipped Cream Every Time
1. Start Cold
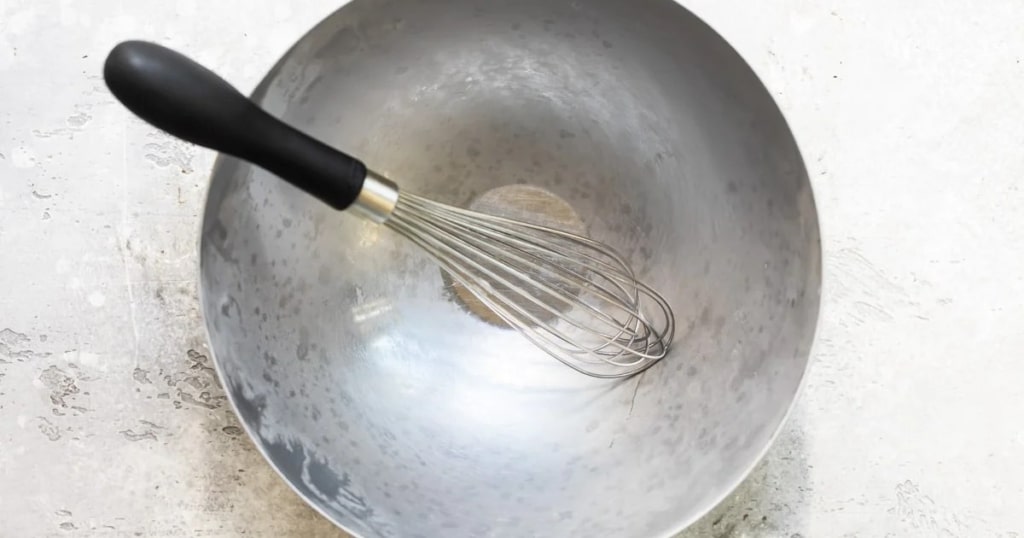
Ensure that your mixing bowl, whisk, and heavy whipping cream are as chilled as possible. Pop your bowl and whisk into the freezer for roughly 20 minutes before you get started. The colder your tools and cream are, the more superior your results will be.
2. Blend Your Ingredients
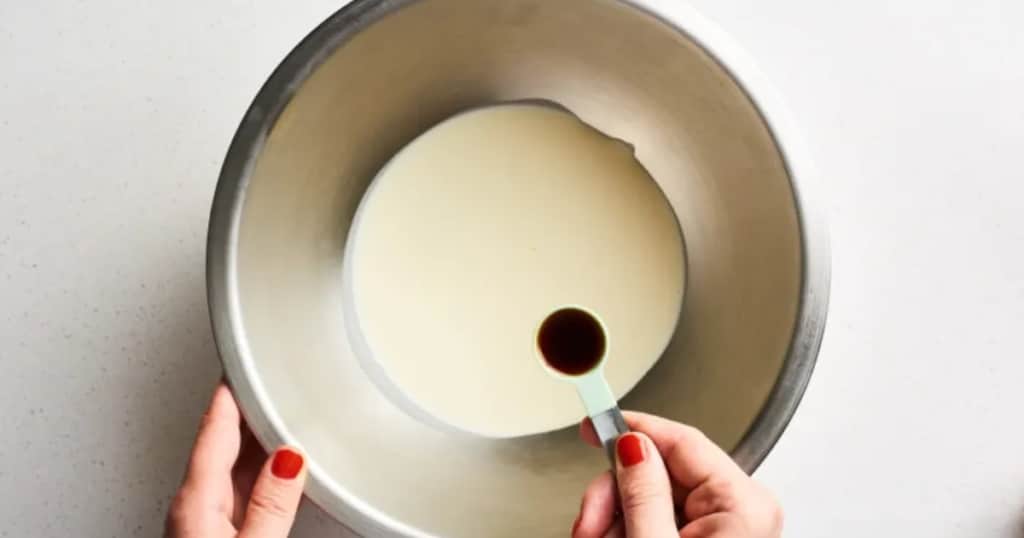
Pour your cooled heavy cream into the chilled mixing bowl. Add in your chosen sweetener and flavourings.
3. Whisk on High Speed
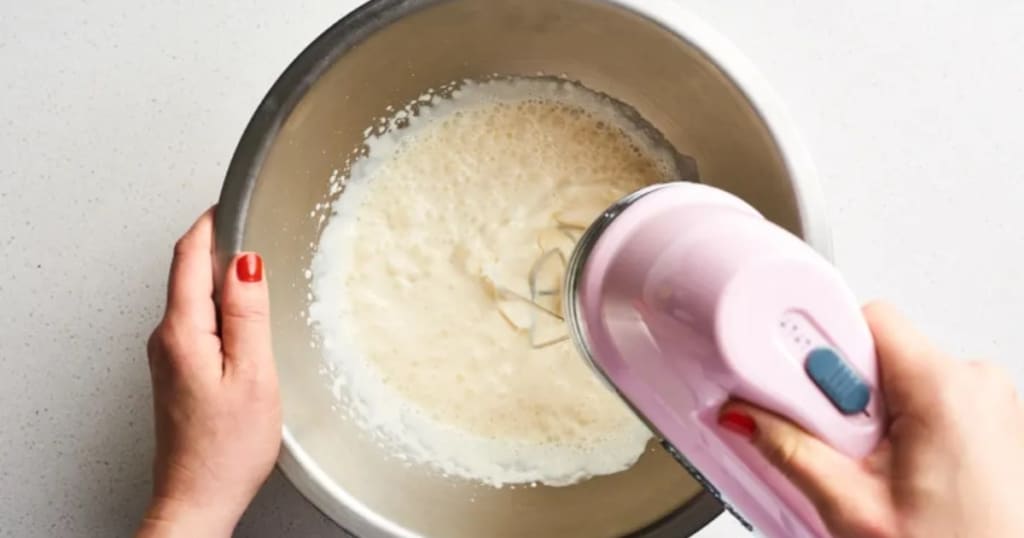
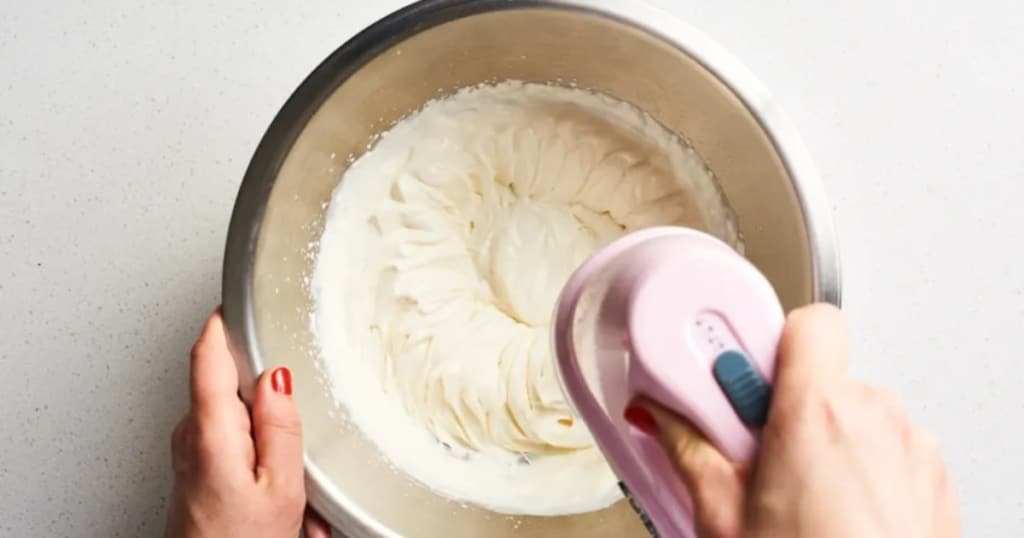
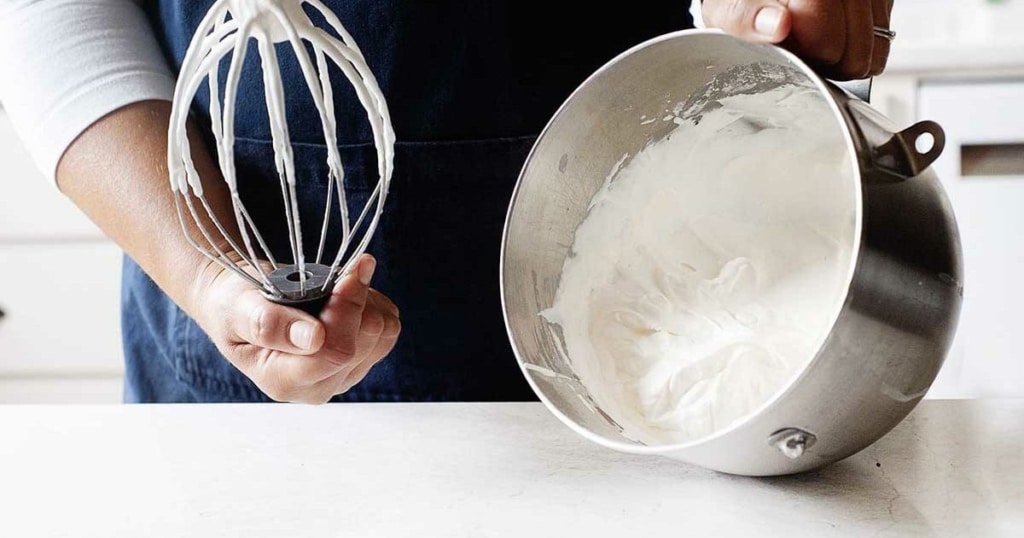
Employ your electric mixer to whisk the ingredients together at high speed. This process should last about a minute until you notice stiff peaks forming.
4. Recognise Your Peaks
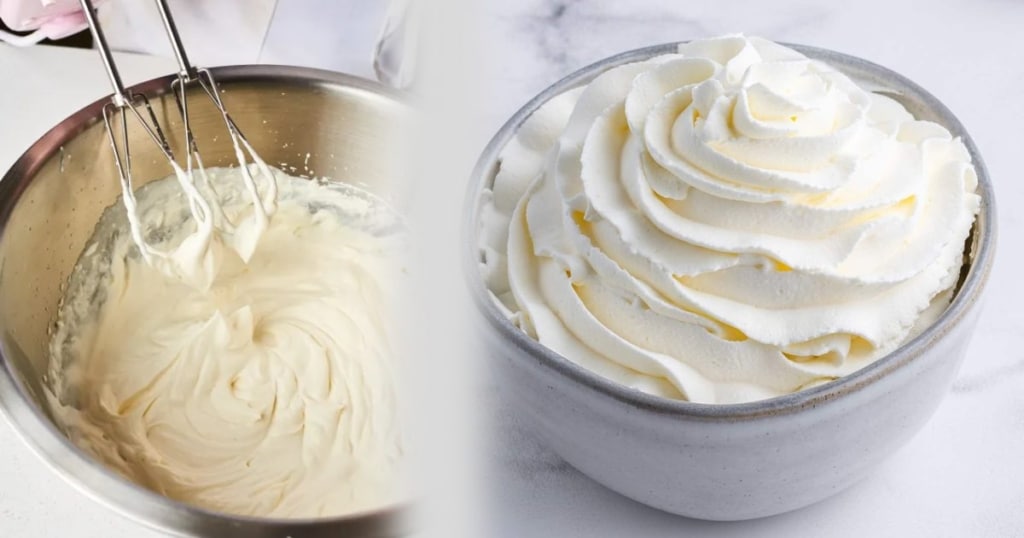
Understanding the different stages of whipped cream—soft, medium, and firm peaks—is vital to decide how long you should whip your cream. Soft peaks are ideal when you plan to fold the cream into another mixture, whereas firm peaks work great for spreading onto cakes and piping.
5. Stabilise Your Cream (Optional)
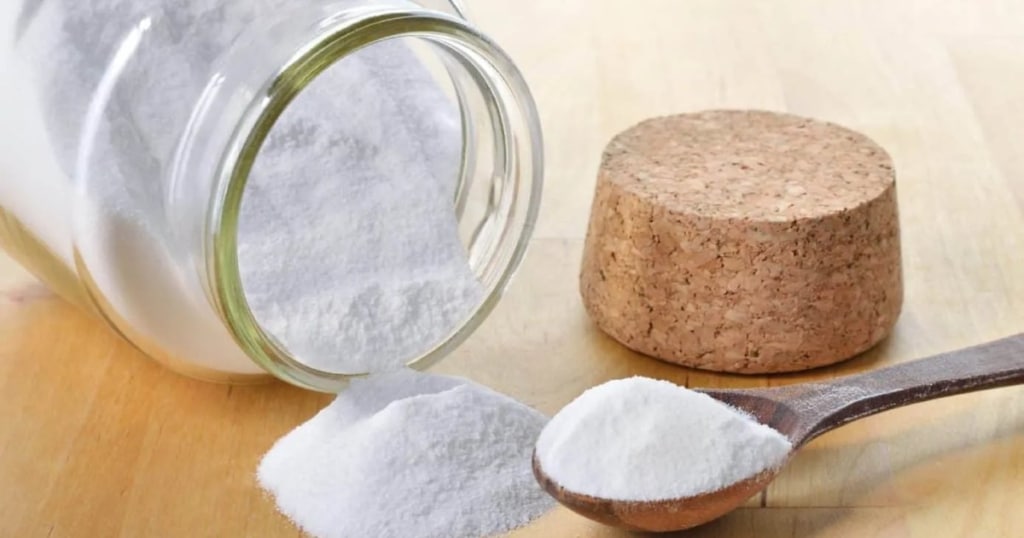
If you plan on storing your whipped cream for a bit before serving, you might want to create a stabilised whipped cream. By adding 1/4 teaspoon of cream of tartar to your heavy whipping cream while whipping, you can extend its shelf life.
6. Avoid Overcrowding the Bowl
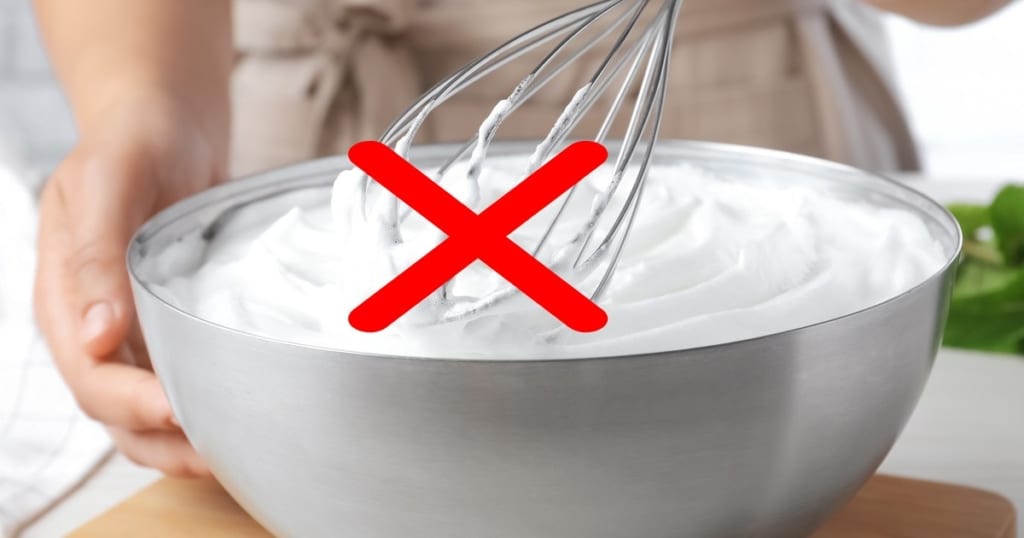
To ensure proper aeration, it’s essential not to whip too much cream at once. Your whisk requires sufficient space to work effectively.
7. Turn to Fast Gas Chargers
For consistently fluffy results every time, Fast Gas chargers can be an asset. These chargers ensure a uniform distribution of nitrous oxide, leading to a beautifully whipped cream.
8. Serve Straightaway
Although whipped cream can be stored in the fridge, it’s best served immediately for the freshest taste and texture.
9. Store Correctly
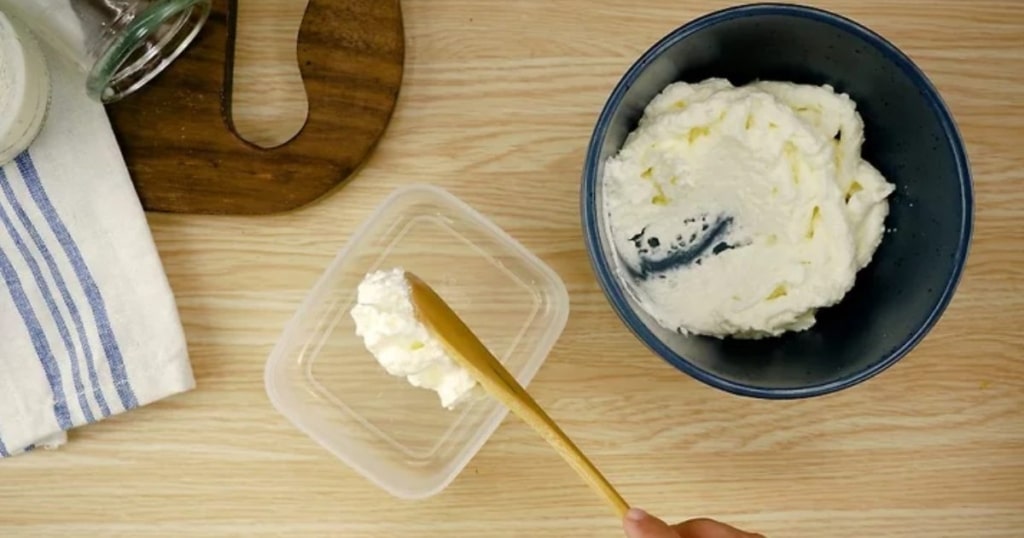
If you end up with leftover whipped cream, keep it in an airtight container in the refrigerator. It should ideally be consumed within 24 hours.
10. Practice Makes Perfect
The more frequently you make whipped cream, the better you’ll become at judging when it’s been whipped to perfection. Don’t be disheartened if your first few tries don’t turn out exactly as you wished—they’re all part of the journey to perfection.
By following these detailed steps and tips, and incorporating Fast Gas chargers into your process, you can craft picture-perfect whipped cream that’ll enhance your favourite treats every single time.
Fast Gas Chargers: Your Secret Weapon
Fast Gas whipped cream chargers are the unsung heroes that can elevate your homemade whipped cream to new heights. Here’s how these chargers can benefit your whipping process:
- Uniform Consistency: Fast Gas chargers release a consistent stream of nitrous oxide that aerates the cream evenly, leading to a fluffy and uniform texture throughout. This level of uniformity is quite difficult to achieve with standard whisking alone.
- Convenience and Speed: These chargers are not just easy to use, they can significantly speed up your whipping process, making them a game-changer when you’re whipping large batches of cream.
- Versatility: Fast Gas chargers offer far more than just whipping cream. These versatile tools can also be used for other gastronomic applications like rapidly infusing flavours into liquids.
- Quality Assurance: Fast Gas chargers are celebrated for their high-quality nitrous oxide. This ensures that you’ll get a top-notch final product every time you whip up a batch of cream.
By utilising Fast Gas chargers in your whipping process, you’re certainly on your way to crafting the perfect whipped cream every single time. This secret weapon could be the difference between good and great whipped cream.
Wrapping It Up
Creating the perfect whipped cream recipe at home doesn’t have to be a daunting task. Armed with these simple steps and with the aid of Fast Gas chargers, you’ll be well on your way to crafting divinely fluffy whipped cream that’s certain to elevate your dessert creations.
So, what are you waiting for? Release your inner patissier and start whipping up some creamy splendour!


